
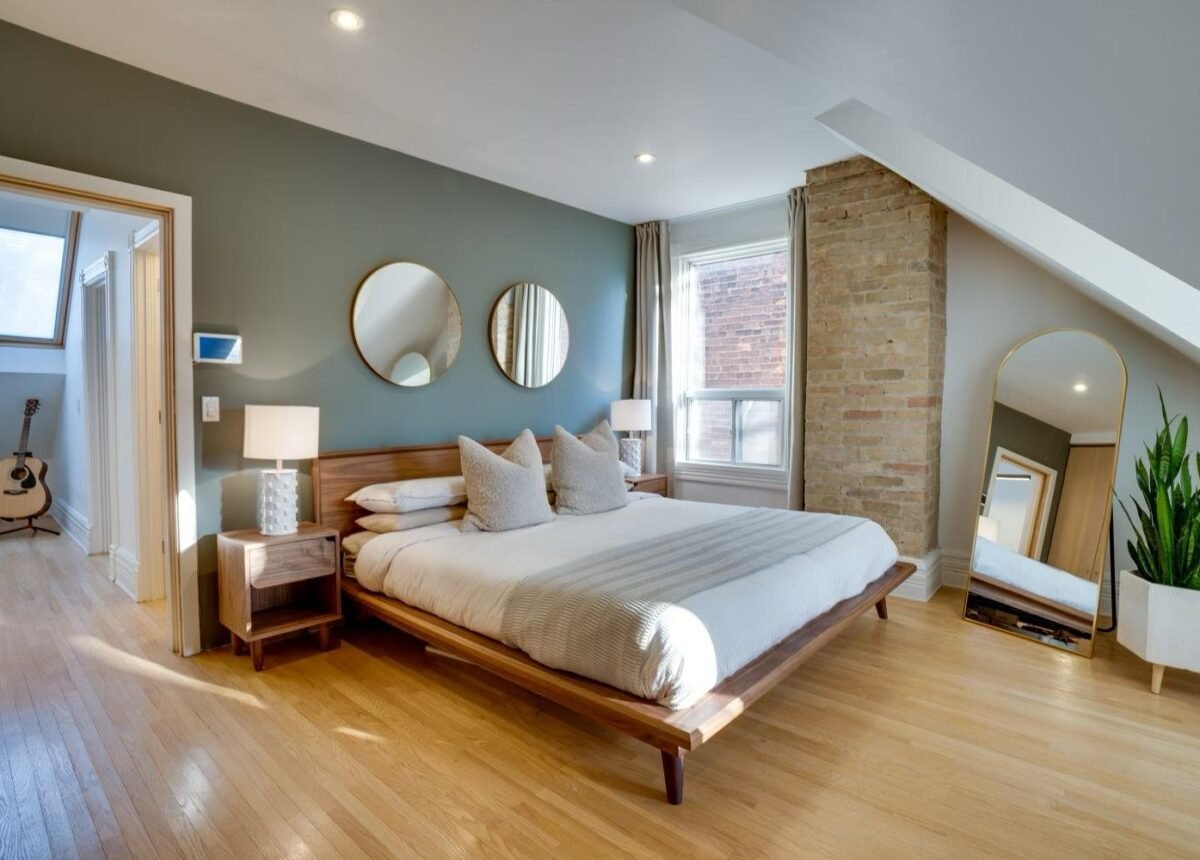
Learning how to paint a room the right way can save you thousands of rupees in professional labor costs while giving you a finish that looks just as good. Most DIY paint jobs fail not because of bad paint, but because of skipped prep work and rushed technique.
If you’ve ever ended up with visible brush strokes, uneven color, or paint splatters on your floor, you’re not alone. This guide breaks down exactly how to paint a room step by step, using the same techniques professional painters rely on. By the end, you’ll know how to prep, paint, and finish a room like someone who does this for a living.
Why Most DIY Paint Jobs Look Unprofessional
Before learning how to paint a room correctly, it helps to understand where most people go wrong.
Common mistakes include:
- Skipping wall cleaning and sanding before painting
- Using cheap brushes and rollers that shed bristles
- Applying paint too thick in one coat
- Not using painter’s tape for clean edges
- Rushing drying time between coats
Professional painters spend nearly 50% of their total time on preparation alone. That ratio is the real secret behind a flawless finish.
(Suggested internal link: link to an article on “Best Paint Brands for Indian Homes”)
Tools and Materials You’ll Need
Having the right tools makes a bigger difference than most people expect when figuring out how to paint a room properly.
Essential Supplies
- Painter’s tape (for clean edges)
- Drop cloths or old bedsheets
- Sandpaper (120-150 grit)
- Putty and putty knife for wall repairs
- Primer
- Quality roller and angled brush
- Paint tray with liner
- Extension pole for ceilings and high walls
Optional but Helpful
- Paint stirrer
- Ladder or step stool
- Microfiber cloth for wiping dust
Investing in a good roller and brush set pays off — cheap tools often leave visible texture and streaks that require extra coats to fix.
Step 1: Prepare the Room Properly
Preparation is the single most important part of learning how to paint a room like a professional.
- Remove or cover furniture with drop cloths
- Take down wall hangings, switchboards covers, and curtain rods
- Clean the walls with a damp cloth to remove dust and grease
- Fill cracks and holes with putty, then sand smooth once dry
- Tape edges along the ceiling, skirting, and window frames
Skipping this step is the number one reason DIY paint jobs look patchy or uneven.
Step 2: Choose the Right Primer
Primer is often skipped by beginners, but it’s essential for even color and better paint adhesion.
- Use a stain-blocking primer if the wall has water marks or old dark paint
- Use a regular acrylic primer for new or lightly used walls
- Apply primer in thin, even coats and let it dry completely before painting
A properly primed wall reduces the number of paint coats needed from three to two in most cases.
Step 3: Master the Cutting-In Technique
“Cutting in” refers to painting the edges and corners with a brush before rolling the main wall area — a core skill in how to paint a room neatly.
- Use an angled brush for precision
- Paint a 2-3 inch border along ceilings, corners, and trim
- Work in small sections so the edge paint doesn’t dry before rolling
This technique prevents the harsh tape-lines and uneven edges common in amateur paint jobs.
Step 4: Roll the Walls the Right Way
Rolling technique affects texture and finish more than most people realize.
- Dip the roller and remove excess paint on the tray’s ridged section
- Apply paint in a W or M pattern, then fill in without lifting the roller
- Always roll from dry area into wet area to blend edges smoothly
- Maintain consistent pressure — too much pressure creates roller marks
Apply two thin coats rather than one thick coat. Thin coats dry more evenly and reduce drips.
(Suggested internal link: link to an article on “How to Choose the Right Paint Finish for Every Room”)
Step 5: Let Drying Time Work in Your Favor
Rushing between coats is a common mistake when figuring out how to paint a room quickly.
- Wait 4-6 hours between coats for water-based (acrylic) paints
- Wait 24 hours for oil-based paints
- Use a fan or open windows to improve air circulation and reduce drying time
Painting over a wet or tacky coat is one of the fastest ways to ruin a smooth finish.
Step 6: Clean Edges and Final Touch-Ups
Once the final coat is dry, remove the painter’s tape slowly at a 45-degree angle to avoid peeling fresh paint.
- Inspect the walls in natural daylight for missed spots
- Touch up small areas with a fine brush
- Clean brushes and rollers immediately with water or solvent depending on paint type
(Suggested internal link: link to an article on “How to Remove Paint Smell from a Freshly Painted Room”)
Pro Tips That Make a Real Difference
- Always stir paint thoroughly before and during use to maintain consistent color
- Buy 10% extra paint for touch-ups later
- Test the color on a small wall section for 24 hours before committing
- Paint the ceiling first, then walls, then trim
Frequently Asked Questions
1. How many coats of paint does a room usually need? Most rooms need two coats for even, opaque color, though dark-to-light color changes may require three.
2. How long should I wait between paint coats? Wait 4-6 hours for water-based paints and up to 24 hours for oil-based paints before applying the next coat.
3. Do I really need primer before painting? Yes, primer improves paint adhesion, blocks stains, and reduces the total number of coats needed.
4. What is the best roller nap size for smooth walls? A 9-10mm nap roller works best for smooth interior walls, while thicker naps suit textured surfaces.
5. How can I avoid brush and roller marks? Use quality tools, apply thin even coats, and always roll from a dry area into a wet area to blend smoothly.
6. Can I paint a room in one day? Yes, a single room can be painted in a day if prep work is done in advance and you allow proper drying time between coats.
Conclusion
Knowing how to paint a room like a professional comes down to preparation, patience, and the right technique — not expensive tools alone. From cleaning and priming the walls to mastering the cutting-in method and applying thin, even coats, each step plays a role in the final finish.
Take your time with prep work, don’t rush drying periods, and invest in decent brushes and rollers. Your walls will thank you.
Ready to get started? Pick your paint color, gather your tools, and give your first wall a professional-quality finish this weekend.